WordPress is the most commonly used CMS (Content Management Software) on the internet, with a market share of 59.5% of websites built on the internet. There are numerous ways to get a WordPress blog up and running for the public to see. One of the more popular ways to publish a blog is WordPress’ official site- WordPress.com. This site offers the opportunities for its users to build and maintain a free WordPress blog. There are downsides to a free WordPress blog account, however. To use custom themes, some plugins, or to use your own domain name requires a paid upgrade. Users are also unable to manage their email or any other facet of their domain with WordPress.com.
An alternative to using a free WordPress.com account would be to install a standalone instance of WordPress on your hosted server. Using installation software such as WordPress Manager, Softaculous, QuickInstall, or other software package delivery systems allows a user to install a WordPress blog instance from scratch. Having a free-standing WordPress install gives you more flexibility on managing your blog, including installing plugins or themes, customizing the CSS beyond a theme, configuring advanced PHP settings, etc.
What if you already have a blog on WordPress.com and want to transfer it to a server where you have more control? Unlike a physical installation on your server, WordPress.com doesn’t allow you access to the website’s files, but rather acts as a WYSIWIG (what you see is what you get). The downside being that without any access to the files it becomes difficult to transfer your WordPress.com blog to another server. Fear not, however. There is a solution! Let’s move a WordPress.com blog to a hosted cPanel server.
(Note- the instructions below operate under the assumption you have a cPanel account to create a WordPress blog on. If you don’t already have one, and don’t want to share your server resources with another site, please check out our cPanel Solo License offering and our Zero to WordPress blog explaining how to build your WordPress blog from the ground up with a cPanel Solo account.)
Export your blog into an XML file

In the Configure section of the WordPress.com site dashboard (the lefthand side menu), there is a gear icon labeled Settings. If you scroll down to the bottom of the page, under Site Tools, there’s an Export option that allows you to download an XML version of your site. XML, or extensible markup language, is a language that sets rules for encoding documents in a human-readable and machine-readable format. This file will contain the necessary data to import your previous site data into your new site location, so make sure not to alter or delete this file.

Make sure to export both your content and media library to get all of your files ready for transfer. Exporting your content will create the XML file, and exporting media library will create a .tar file with your media inside.
Install WordPress on your server

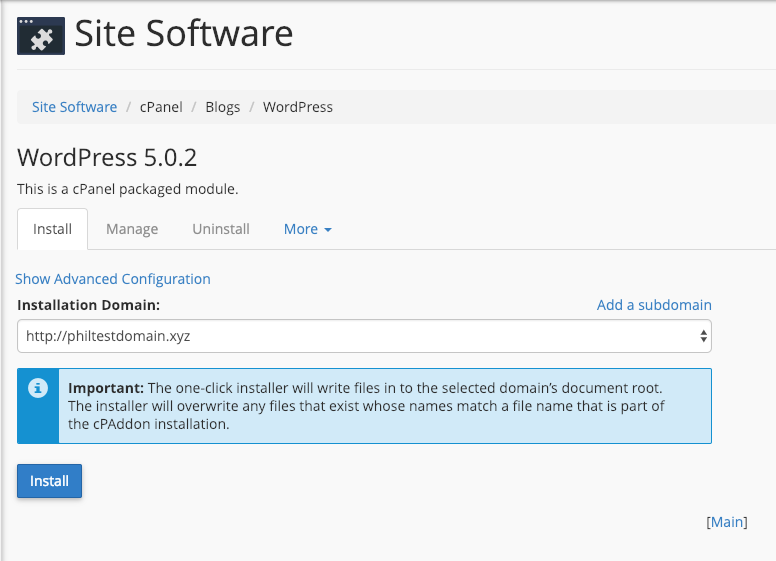
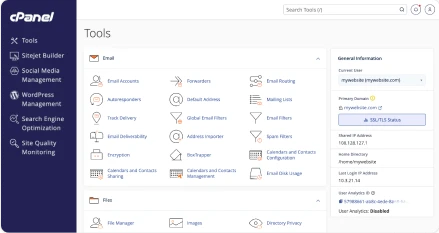
In cPanel under Applications is the WordPress Manager. Using WordPress Manager will help you get a brand new WordPress instance installed.
- Click Create Installation in WordPress Manager
- Select the domain you wish to install WordPress on (in my case, philtestdomain.xyz) and click Install.
- WordPress Manager will generate credentials for you (which can be changed at a later time), so make sure to save your username and password in a safe place.
You now have a brand new WordPress installation! Let’s get the site imported.
Importing the XML into your new installation

We only have a few more steps to go before your data is imported into your new WordPress installation! Simply follow these instructions and let the WordPress Import function do all of the heavy lifting!
- Log into your WordPress site as an administrator (these are the credentials you saved when creating the new installation)
- Go to Tools: Import in the WordPress Admin Panel
- Install the WordPress Importer from the list
- Activate and Run Importer
- Upload this file (the XML) using the form provided on that page
- Map the author in the XML to users on the site (either the Administrator user you created or another user you may choose to create)

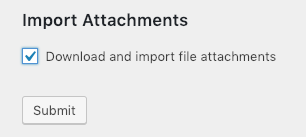
When importing the content into your new WordPress installation, make sure to check the Download and import file attachments box to include media such as images from the posts in the import.
7. WordPress will then import each of your posts, pages, comments, categories, etc. contained in the XML to this site
(note: when being asked to import the author, you can maintain the old author name from the WordPress.com blog or choose the admin name created when you installed WordPress)
And there you go! You’ve successfully migrated your WordPress.com blog into a cPanel hosted WordPress installation! If you’d like to talk more about WordPress or migrating content or anything cPanel in general, please join us on our Slack or Discord channels or subscribe to the official cPanel subreddit!

